You may need to lift and remove your 60” linear drain system as part of your maintenance process. This is also the case if you need to replace the materials. While this task may be daunting, it’s easy to do for linear shower drain designs with fewer screws and fasteners. Plus, you can loosen the sealants without too much force. Find out the four simple steps to lifting a linear shower drain.
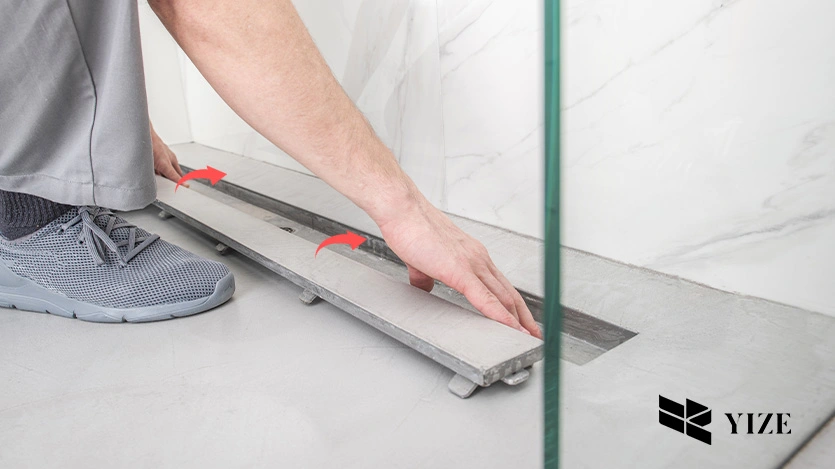
Step 1: Take Off the Linear Drain Cover or Grate
You can remove linear shower drains by unscrewing and lifting the drain. Using a small hook, pull the drain cover starting from one side. Then, move to the next side and do the same.
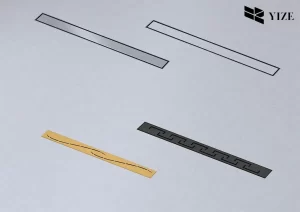
Linear shower drain products often come with a lifting hook. This tool fits the small gap between the drain and the tile. Thus making it easy to remove the grate without damaging the material.
Some linear drain designs force you to use tools for grate removal. Say you have a 60-inch linear drain with a stainless steel shower pan. In this case, screws hold the cover in place, which you’ll have to loosen using a screwdriver. Remove the grate after detaching the screws.
For lift and pull drain covers, use a plier and a cloth to lift and twist the grate. Pull-out drain cover designs can be mistaken for a grate with a hidden stopper. Make sure to check for these stoppers first before lifting the cover. Remove them with a cloth to prevent scratching.
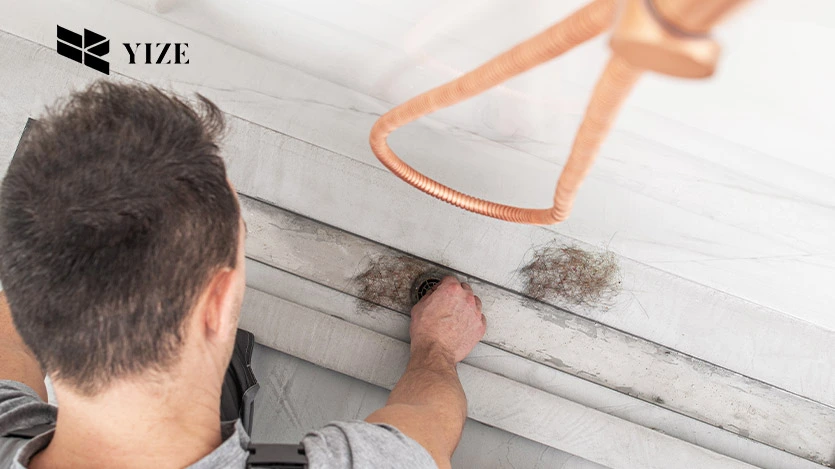
Step 2: Remove Hair or Gunk in the Hair Trap or Drain Pipe
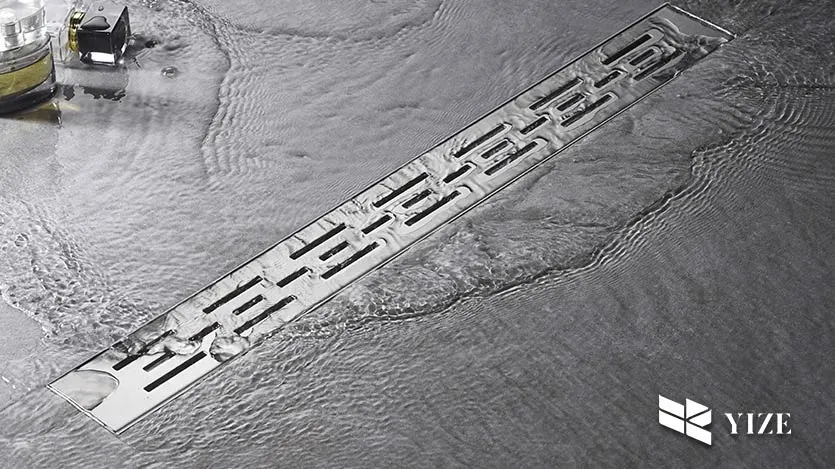
Once you have lifted the drain cover, move it aside and check the drain pipe. Linear drains often have the pipe in the center. They differ but in the direction of the outlet. You may have a 60” linear shower drain with a vertical outlet or a side drain shower pan with a horizontal pipe.
Regardless of which type, inspect the drain pipe and remove objects that block water flow. 60-inch linear drains usually have hair traps. This makes it easy for you to collect accumulated fallen hair. Others have extra filters for gunk and soap scum. Make sure to scrape these out, leaving your drain pipe debris-free.
In case of a clogged drain, use a plumber snake or solution to soften the blockage. Learn the best drain cleaner for showers from our guide.
Step 3: Remove or Replace the Drain Body
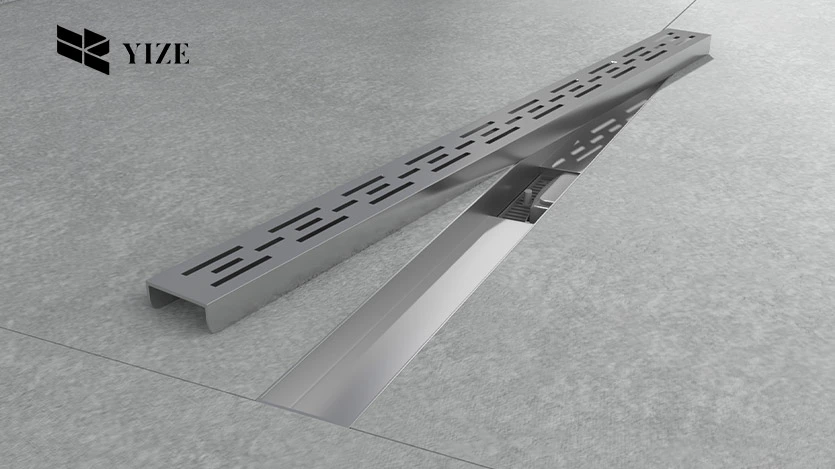
If you are remodeling your bathroom or replacing the shower drain system, you will likely need to remove the entire linear shower drain. In this case, use a putty knife to scrape away any caulking or sealant around the edges of the drain. This will help loosen the drain and make it easier to remove.
After you remove the caulk or sealant, loosen the drain. You might have nuts or bolts securing the drain to the shower floor, depending on the type. Get a pair of pliers and loosen these fasteners.
Lift the drain out of the shower floor once it has become loose. Avoid damaging the surrounding tiles or shower pan.
After cleaning the drain opening, install the new drain or perform thorough maintenance. Make sure to follow the manufacturer’s instructions when installing a new drain.
Step 4: Put the Drain Cover Back
After clearing the side drain shower, you can put the drain grate back the same way you removed it. Put the screws back and tighten them so the linear drain shower pan levels the floor.
If you have reinstalled a new shower drain system, clean up the area and remove potential debris. Test the new drainage system 24 hours after the installation.
Troubleshooting Tips When Taking Off Your Shower Drain
Removing linear shower drains is simple, but you might encounter some problems. We’ve got some troubleshooting tips to help you fix these problems:
- For tough-to-remove screws, apply penetrating oil to loosen them. After a few minutes, try unscrewing them again.
- There are times when the drain itself may be stubborn and refuse to come loose. If this happens, use a drain removal tool or key to turn the drain counterclockwise. With these tools, you can gain more leverage and make it easier to loosen stuck drains.
- With a damaged or corroded drain, you may have difficulty removing it. You should get professional help in such cases to avoid further damage.
- Sometimes, a clogged drain is not visible from the surface. To clear a clog, use a drain snake or auger if you can’t locate it. By using these tools, you can dislodge deeper obstructions in the drain.
Frequently Asked Questions
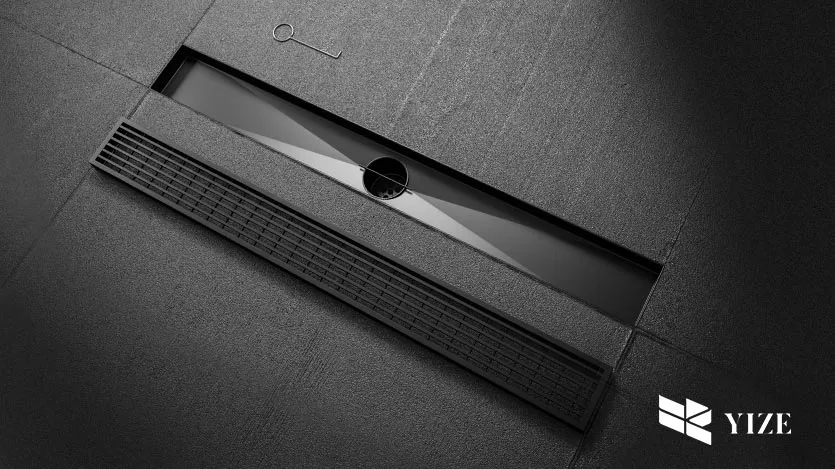
How do you lift a linear shower drain cover?
The easiest way to lift a linear shower drain cover is by using the lifting hooks that came with the product. If you don’t have these hooks or have lost them, try using something similar that could help raise the grate.
Where does a linear shower drain go?
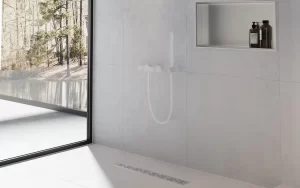
Whether it’s a 60-inch linear shower drain or its 48-inch counterpart, the best place for this type of drain is on the floor next to the wall. You can also put it at the entrance to the shower area. You can also choose to put it in the center. This decision depends on your aesthetic vision for the bathroom.
Are linear shower drains hard to install?
The installation complexity of a linear shower drain depends on various factors. These include the size of the body, design, and location. Most stainless steel shower pans are pull-out types, making installation easier. But others need expertise and experience, especially when navigating the drainage pipe. In that case, it’s best to seek professional services.
Conclusion
Lifting a 60” linear shower drain or any linear side drain shower doesn’t have to be complex. Your first step is determining what you want to do with your drain- whether to clean it or replace it altogether. Follow our guide for shower pan removal for proper maintenance and care of your bathroom.