If you are reading this blog post, it is a definite yes that you don’t want to hire a plumber. In most cases, people want to save on labor costs, but they sometimes want to experience the thrill of a DIY. So, a linear shower drain? Let us walk you through all the essential steps of its installation.
Don’t worry; we will also explain it through videos and images. Please read on!
First things first
Before we get into the actual installation of the shower drain linear, please remember the following points:
- 90% of all plumbing jobs require creativity and problem-solving skills.
- Installing a long shower drain is not like tightening a screw; the process may vary depending on the site’s conditions.
- Each site/bathroom requires a different set of plumbing items like elbows, sockets, etc.
- You might have to cut and trim the basic floor plumbing to make room for your new linear drain shower pan.
It is also true for any other type of drain installation, like a wall drain or point drain.
Finally, not all bathrooms have the same installation procedure. However, we will explain the essentials so you can get a basic idea.
Step 1 – Survey and Shopping
Before installing a linear floor drain for shower , inspect your bathroom and shop for the proper materials.
Please note that plumbing requires preparation. So, if you don’t want to wait for online deliveries to reach your home or extra rounds to your local hardware shop, measure, appraise the plumbing arrangement, and acquire tools and components.
Additionally, see if you can work out a return deal with your local supplier. This way, you can buy extra PVCs, elbows, sockets, pipes, etc. Finally, when you finish the installation, you can just return them. It ensures that you don’t have to take additional trips to the store in case of a miscalculation or mistake.
Some of the vital materials that you will need are:
- Safety Glasses.
- Flooring Mortar.
- Screwdrivers.
- Silicon Sealant.
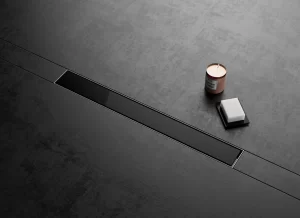
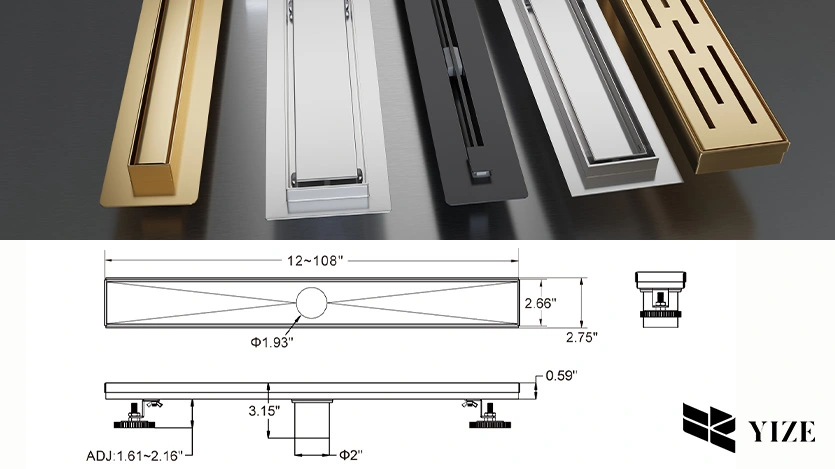
Furthermore, choose the best linear drain model for your bathroom’s looks and functionality when buying. Consider size, style, and material. Remember, paying greater attention to this stage will make installation easier.
A bonus tip here would be to go for a quality product. Check out the latest and trending linear shower drain models from YIZE.
Step 2 – Visualization
After researching, it is time to imagine the installation. Most experienced plumbers do it at the start and visualize each step individually. This way, they can pinpoint flaws, lacking materials, minor missteps, etc.
Take it as your plumbing blueprint. Consider the linear drain location, shower floor slope, and fit.
Lastly, visualization is crucial for anticipating problems and developing creative solutions.
Step 3 – Basic Pluming and Leveling
Plumbing requires precision. Secure and leak-free pipes, fittings, and connections are the first step.
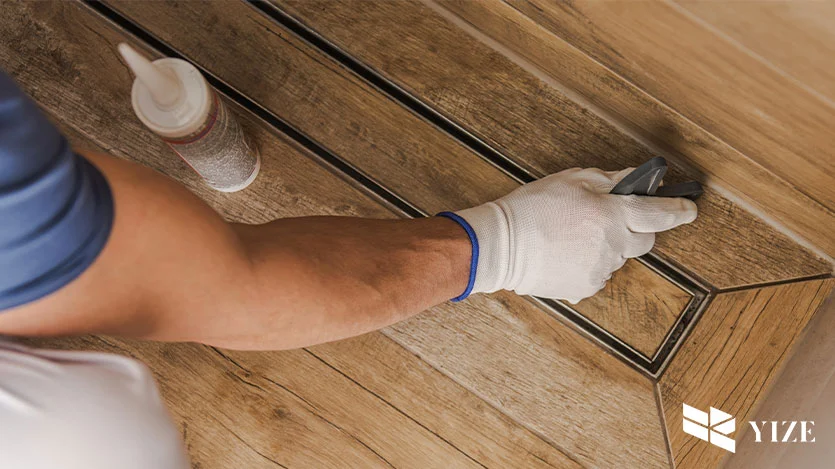
You must always glue your fitting and your pipe; otherwise, there is a chance of water leakage, which can have a devastating impact through unseen water damage.
A pro tip here would be to buy PVC adhesives that don’t require any primer. It will save you money and time.
Finally, ensure that you leave enough space for the linear shower drain, and water will run freely to the drain.
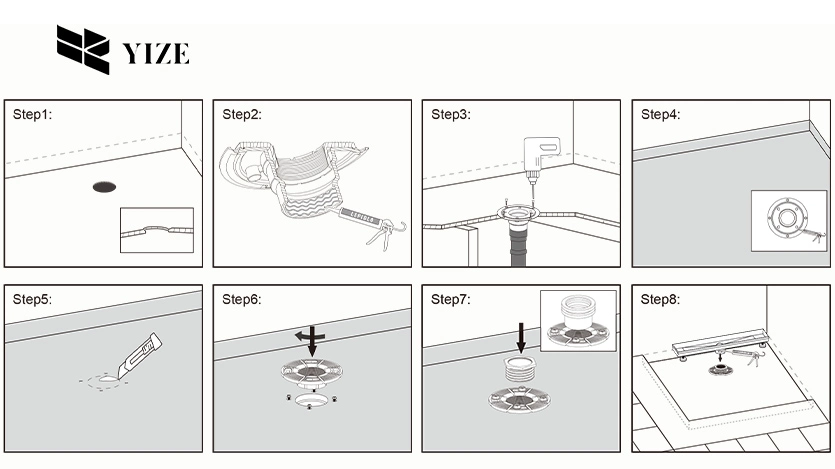
Step 4 – Installation
The installation phase of the linear drain shower requires a careful approach. A small mistake can lead to monetary losses and damages.
After taking care of the installation spot, plumbing, leveling, and other essentials, it is time to install the linear drain shower. Here is how you do it!
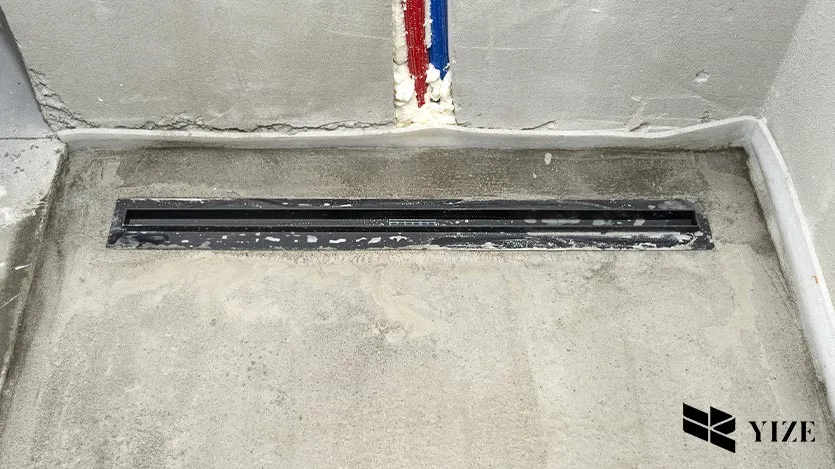
- At this point, please ensure that your waste drain line is in line with your linear drain. Also, using a level meter, make sure that the water flows from the linear drain to the waste drain pipeline.
- The next step is placing the linear drain correctly. The drain must be pre-fitted to the plumbing waste line.
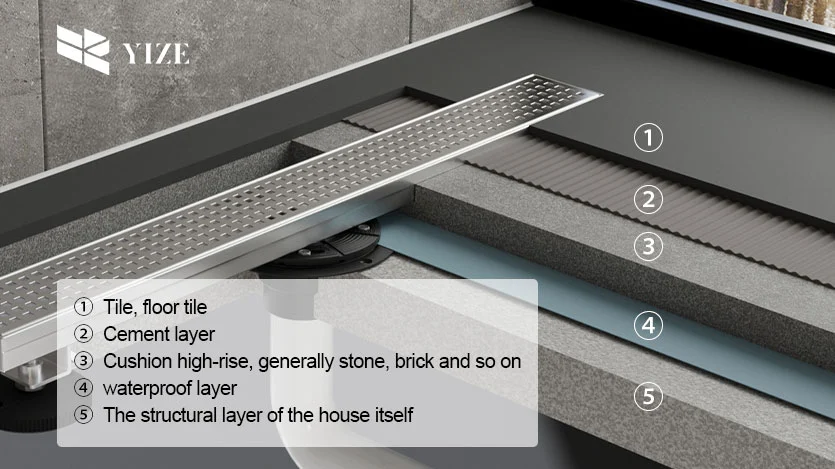
- Now, create a flawless water barrier gap over the wooden floor before putting the mortar bed. For a concrete floor, moisten the slab and apply the mortar mixture to the plate.
- Apply masking or transparent packing tape to the shower linear drain body and flanges. Why do this? According to experts, this strengthens drain interiors and keeps the Flanges clean of mortar and debris.
- Simply make a little wetter mortar bed in the next step. It should be more wet than usual. Build a support platform under the linear drain in shower trench. Build the end and back flanges near the shower wall.
- Install the linear drain body by connecting its outlet to the plumbing waste line. This procedure requires a no-hub coupling and pressing the linear drain body into the moist mortar substrate.
- As you finish the primary procedures of installing a bathroom linear drain, one vital step remains. Leveling thelinear trench shower drains and packing mortar beneath the last pipe flange is enough.
- Finally, ensure the linear drain shower pan aligns perfectly with the flooring and takes in all the water.
Final Thoughts
Installing a linear shower drain can be a time-consuming process if you are doing it for the first time. If you are confident enough in your abilities, then go for it by following the above installation guide. However, if you are not up to the task, please hire experts.
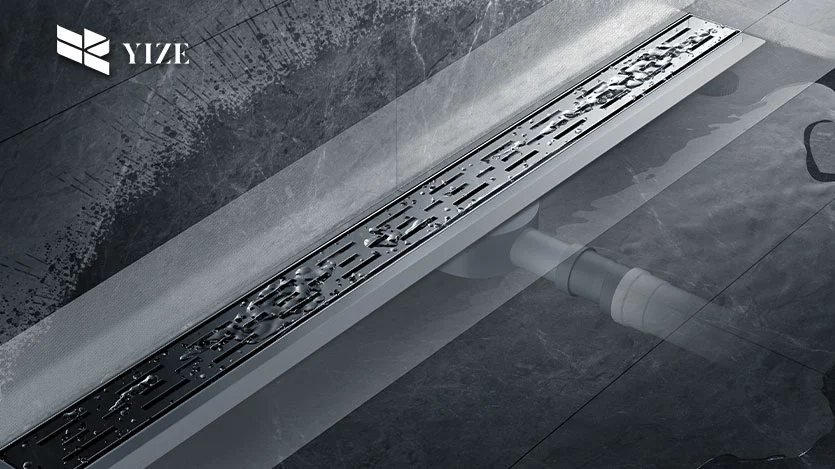
Point shower drains are fine, but they are prone to blockage and look simpler. For a lavish look like a wall drain, linear shower drains are trending the most in 2023.
For the best price and quality, browse yzdrian’s top-notch collection of linear drain. If you have more questions or business inquiries, you can ask for a FREE quote here. Thanks for the Read!