Have you ever sensed dirtiness when the bathtub starts peeling off while taking a bath? If yes, you are at the right place. Bathtub paint peeling usually starts when you don’t take proper care of it. So, you should immediately fix the bathtub whenever you notice a little run down.
The good thing about repairing a peeling bathtub is that you do not need to hire a contractor to fix it. You can do it yourself with the help of the right tools and techniques. Whether your bathtub has small scratches or peeled paint flakes, you can refinish it at a reasonable cost.
In this blog, we will guide you on how to fix peeling bathtub paint and maintain it.
Why Does My Bathtub Peel?
Almost all bathtubs have a layer of paint to protect the internal tub lining from water. When paint peels off., water enters the tub lining and damages it. There are various factors responsible for peeling paint from the bathtub. Some people claim that it’s because of poor maintenance and improper cleaning. While others think it is because of excessive heat.
Before moving toward the step of how to fix a peeling bathtub, let’s explore all the possible causes of paint peeling.
· Paint peeling takes place due to excessive heat, water damage, or mechanical stress.
· Chemical residues of cleaning agents can also destroy the bathtub paint.
· Another cause of bathtub paint peeling is excessive exposure to rain and sunlight.
· Improper cleaning, less maintenance, and lack of appropriate upkeep on the bathtub surface.
Is it Possible to Fix a Peeling Bathtub Paint?
Yes, it’s possible to fix peeling bathtub paint. Unfortunately, some experience cracks in the porcelain tub after peeling the paint. To protect your bathtub from further corrosion, you need to fix this paint peeling issue. You can fix this issue using putty to fill linings, pores, and cracks. But doing so will give a finished look to your entire tub.
Steps to Repair Peeling Bathtub Paint
No worries if you are unaware of how to fix a peeling bathtub, we will guide you step-wise. Make sure to clean and maintain your bathtub to avoid such problems in the future. Here are eight steps to repair peeling bathtub paint that you need to follow:
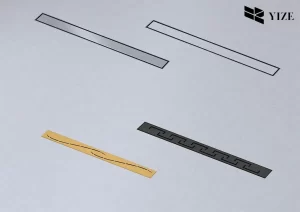
Step # 1: Collect the Necessary Materials
First, you need to collect all the requisite materials to treat peeling bathtub paint. It’s recommended to buy a bathroom paint kit, epoxy kit, and all other tools. Make sure to have hardening material and catalysts that help make epoxy resin.
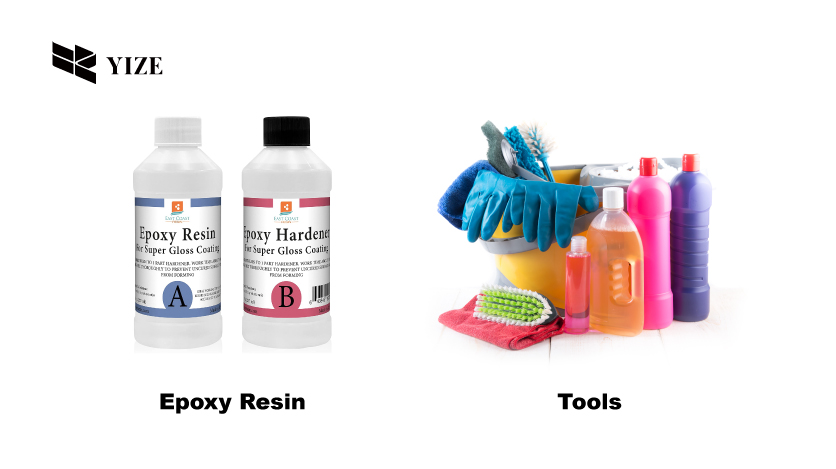
While purchasing an epoxy kit, prefer the one with a white shade. Because white-colored epoxy chips are perfect for all light-colored bathtubs, however, you can choose any other matching kit to complement the shade of your bathtub. Mix two chip kits to get your desired color if your bathtub shade differs from all chip kits.
Step # 2: Clean Bathtub’s Damaged Area
After collecting all the required materials, clean the affected area of the bathtub. First, pick a tub cleaner, pour it on your sponge, and scrub the damaged area of the bathtub. If you don’t have a tub cleaner, take dish detergent and warm water to clean cracked areas.
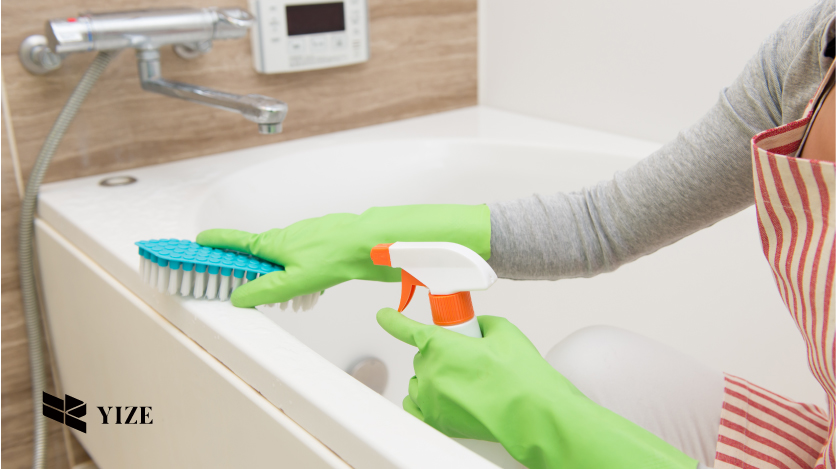
Besides bathtub cleaner and dish detergent, using acetone is also an effective way of cleaning a bathtub. Acetone plays a role in softening bathtub caulks to make their removal convenient. While cleaning and scrubbing the bathtub, wear rubber gloves for your hand protection. Ensure proper drying of the bathtub chipped area after cleaning.
Step # 3: Remove Caulks, Spouts, and Drain Fixtures
Once you have cleaned your bathtub, start removing old caulk and spouts. While removing old caulks, keep a garbage bag near you to discard the caulk immediately. If you need to remember to remove all the caulks, you can fix this issue while sanding down the bathtub later.
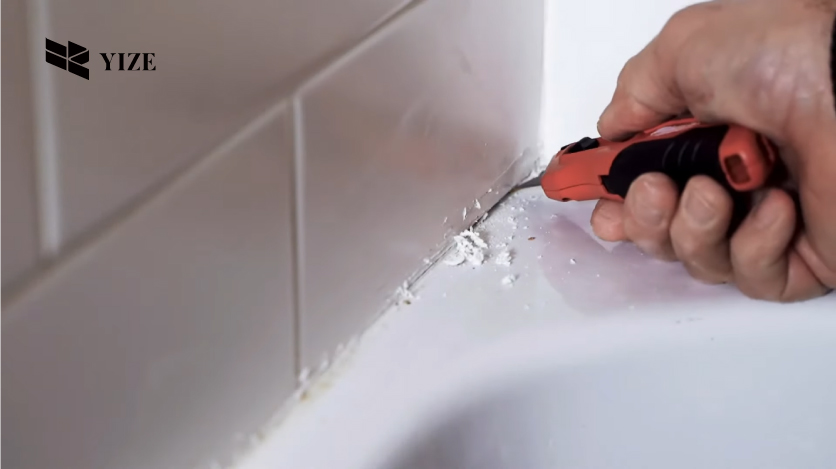
Along with caulk removal, you also need to remove spots. After removing the spouts and caulks, drain water on them. Draining water will prevent the spouts residues from paint. Next, take a screwdriver to remove all the fixtures and drain them for excellent results.
Step # 4: Bleach Your Bathtub Surface
Take an epoxy kit and read all the instructions written on it. Next, mix the two components according to the instructions for bathtub bleaching. While mixing the components, make sure to use a disposable tray and stirring stick. To apply epoxy to the damaged area, use a paintbrush or spatula.
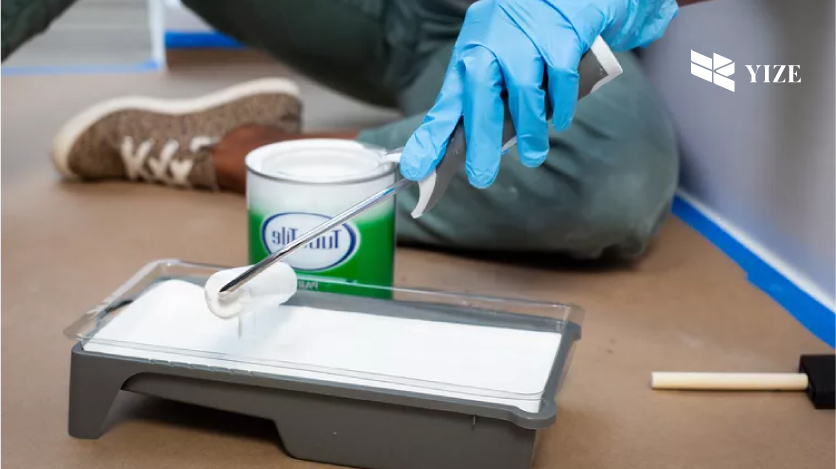
The best way of epoxy application is to apply a thin, even distribution of it on the chipped surface. When you apply, spread it in one direction to fill all spots, clogs, and cracks. Keep in mind to follow all the instructions in the epoxy kit to dry the surface. Once the surface gets dry, use sandpaper to clean and smooth all bathtub areas. In case of any visible chip, apply another layer of epoxy by following the same procedure.
Step # 5: Refinish Damaged Areas of the Bathtub
Grab the refinishing kit for repairing damaged bathtub areas. While buying a refinishing kit from a home improvement center, ensure the presence of tub cleaner, brush roller, pain tray, durable resin coating, refinishing paint, primer, and sandpaper. Before refinishing the damaged areas, ventilate the bathroom by turning on the fan and opening the windows.
Remember to wear your protective gear while refinishing the damaged area. Once you ventilate your bathroom, cover the floor and clean the bathtub with a cleaner. Use instructions to apply cleanser and scrub the damaged areas. After applying the cleaner, rinse it before using the scrubber.
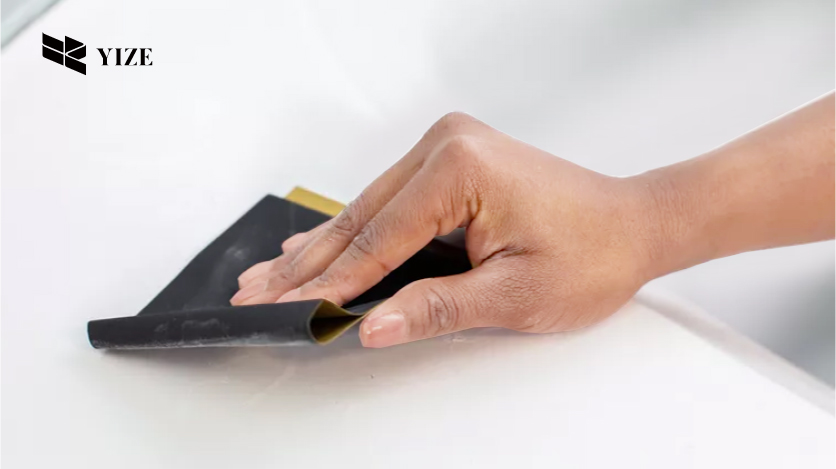
A sponge for further scrubbing is necessary to remove scum and stains on the bathtub. Next, choose sandpaper to remove old finishing from the bathtub. While sanding the bathtub, move the sandpaper in a circular motion. Continue sanding the bathtub till you feel the surface is smooth.
Step # 6: Repair Bathtub Cracks
Once you smooth the bathtub surface after sanding, check for any extra cracks. If there is any crack or pore, repair it with the help of an epoxy crack repair kit. Follow all the instructions to mix components on a disposable tray. Then, use a spatula to apply a thin layer on the remaining cracked area of the tub.
Once you are done with repairing bathtub cracks, you need to wait for two to three hours. This time is enough to dry the applied epoxy layer. When it gets dry, grab a 2000-grit sandpaper to sand down all the patches of the bathtub. At this stage, sanding effectively matches finished areas with the bathtub.
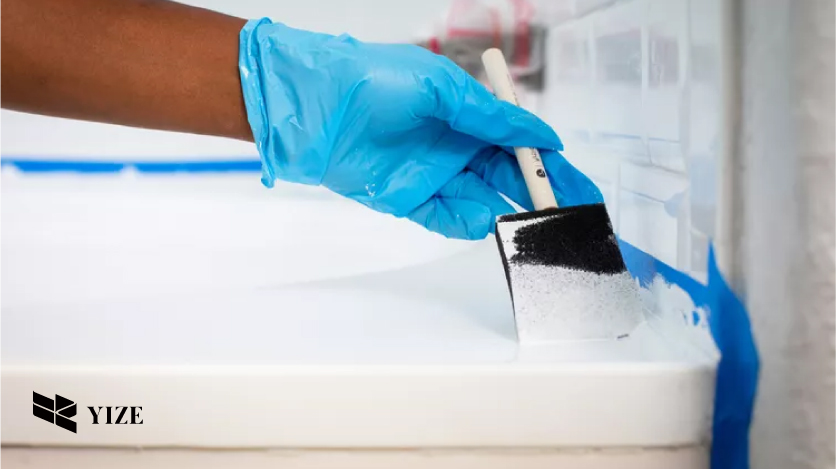
Step # 7: Apply Bathtub Paint
To apply paint on the bathtub, you need a bathroom paint kit. Before applying the bathtub touch-up paint, cover all the walls and floor. You can also use masking tape to ensure the grip of protective plastic sheets on walls and floors.
Cover the plastic sheet with floors and walls around other fixtures like the toilet and sink. Before starting to paint, put a respirator to protect yourself from the heavy fumes of paint. Moreover, you should wear old clothes because you will not be able to wear these dirty clothes again. Following all the instructions to prepare and paint the bathtub is also necessary.
Follow these steps to paint your bathtub like a pro:
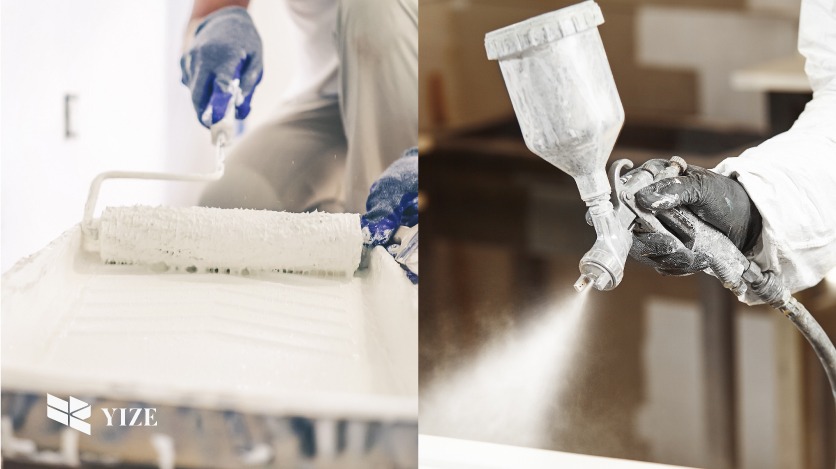
Load Spray Gun
The very first step in painting a bathtub is loading a spray gun. If you don’t know how much paint you need to load on the gun, follow the spray gun instruction manual regulations. Make sure to keep the lid of the spray gun on the pain. It helps prevent the enamel from getting dry. Feel free to use a paintbrush and rollers if you cannot use a spray gun.
Paint Bathtub Lengthwise
It’s up to you whether you use a spray gun, paintbrush, or roller but apply paint lengthwise. Make sure to apply paint on the bathtub starting from the top. Now, paint the top areas of the bathtub lengthwise by even motions. Then, paint the bottom areas of the bathtub. If you use a spray gun, keep it at least 8 inches from the bathtub.
Follow this simplest way to paint the bathtub completely. Next, use the same procedure to paint the exterior surface of the bathtub. After the application of one coat, leave it to dry. Once the first coat of paint is dry, apply the second coat. Again dry it for about 20 minutes. Make sure that all the patches and areas of the bathtub are properly dried.
Step # 8: Finish Bathtub
Keep the bathtub as it’s till its complete recovery or repair. Never turn Tap On or step into the bathtub before ensuring it’s completely fixed. Remove the tape and protective sheets, and attach all the removed fixtures to the bathtub. Apply new caulk to all areas where the tub joins with fixtures with the help of a spray gun. In this way, your bathtub will be completely fixed.

Tips on How to Maintain a Refinished Bathtub
To maintain the bathtub’s finished coating, follow these guidelines. These tips will help you maintain your bathtub for a long time by protecting it from paint peeling. Here are these tips:
Avoid using appliques and bath mats, and suction cups on the bathtub surface. It’s because the suction cup may damage the paint coating on the bathtub. But you can use a non-slip bath mat only if it’s without suction cups.
Clean and maintain your bathtub regularly with high-quality cleaning agents.
Using these tips, you can not only protect your bathtub paint from peeling and increase its shelf life.
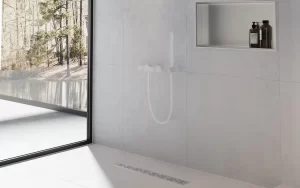
Are you looking for a Barrier-Free Shower?
If you are frustrated by fixing, cleaning, and maintaining the bathtub, there is no need to worry. We have a fantastic thing for you to facilitate your bath cleaning job. The best way to get rid of all the repairing and maintaining bathtub services is to use a Barrier-free shower. It brings easy access for you to your wet areas. So enjoy a hassle-free life by getting our Barrier-free shower drain products.
Conclusion
In short, fixing the peeling bathtub paint is easy, but you need to be proficient. Because your single wrong step can destroy the whole finishing surface. Whenever you see a bathtub paint peel, grab your tool kit and start filling holes and cracks. Save money by cleaning, filling, and painting cracked areas of the bathtub on your own. Feel free to replace your bathtub with a shower drain to get rid of peeling bathtub paint.